


Price: $7.49 - $4.00
(as of Apr 07, 2025 14:05:43 UTC - Details)
The Best Way to Apply Press-On Nails: A Complete Guide
Introduction
Are you tired of spending hours at the nail salon or dealing with chipped nail polish? If so, press-on nails might just be the perfect solution for you! In this article, we’ll explore the best way to apply press-on nails, ensuring they look fabulous and last longer. Whether you’re a beginner or someone who has tried them before, our step-by-step guide will help you achieve salon-quality results at home. Plus, we’ll cover tips and tricks to make your press-on nails stand out. Let’s dive in!
What Are Press-On Nails?
Understanding Press-On Nails
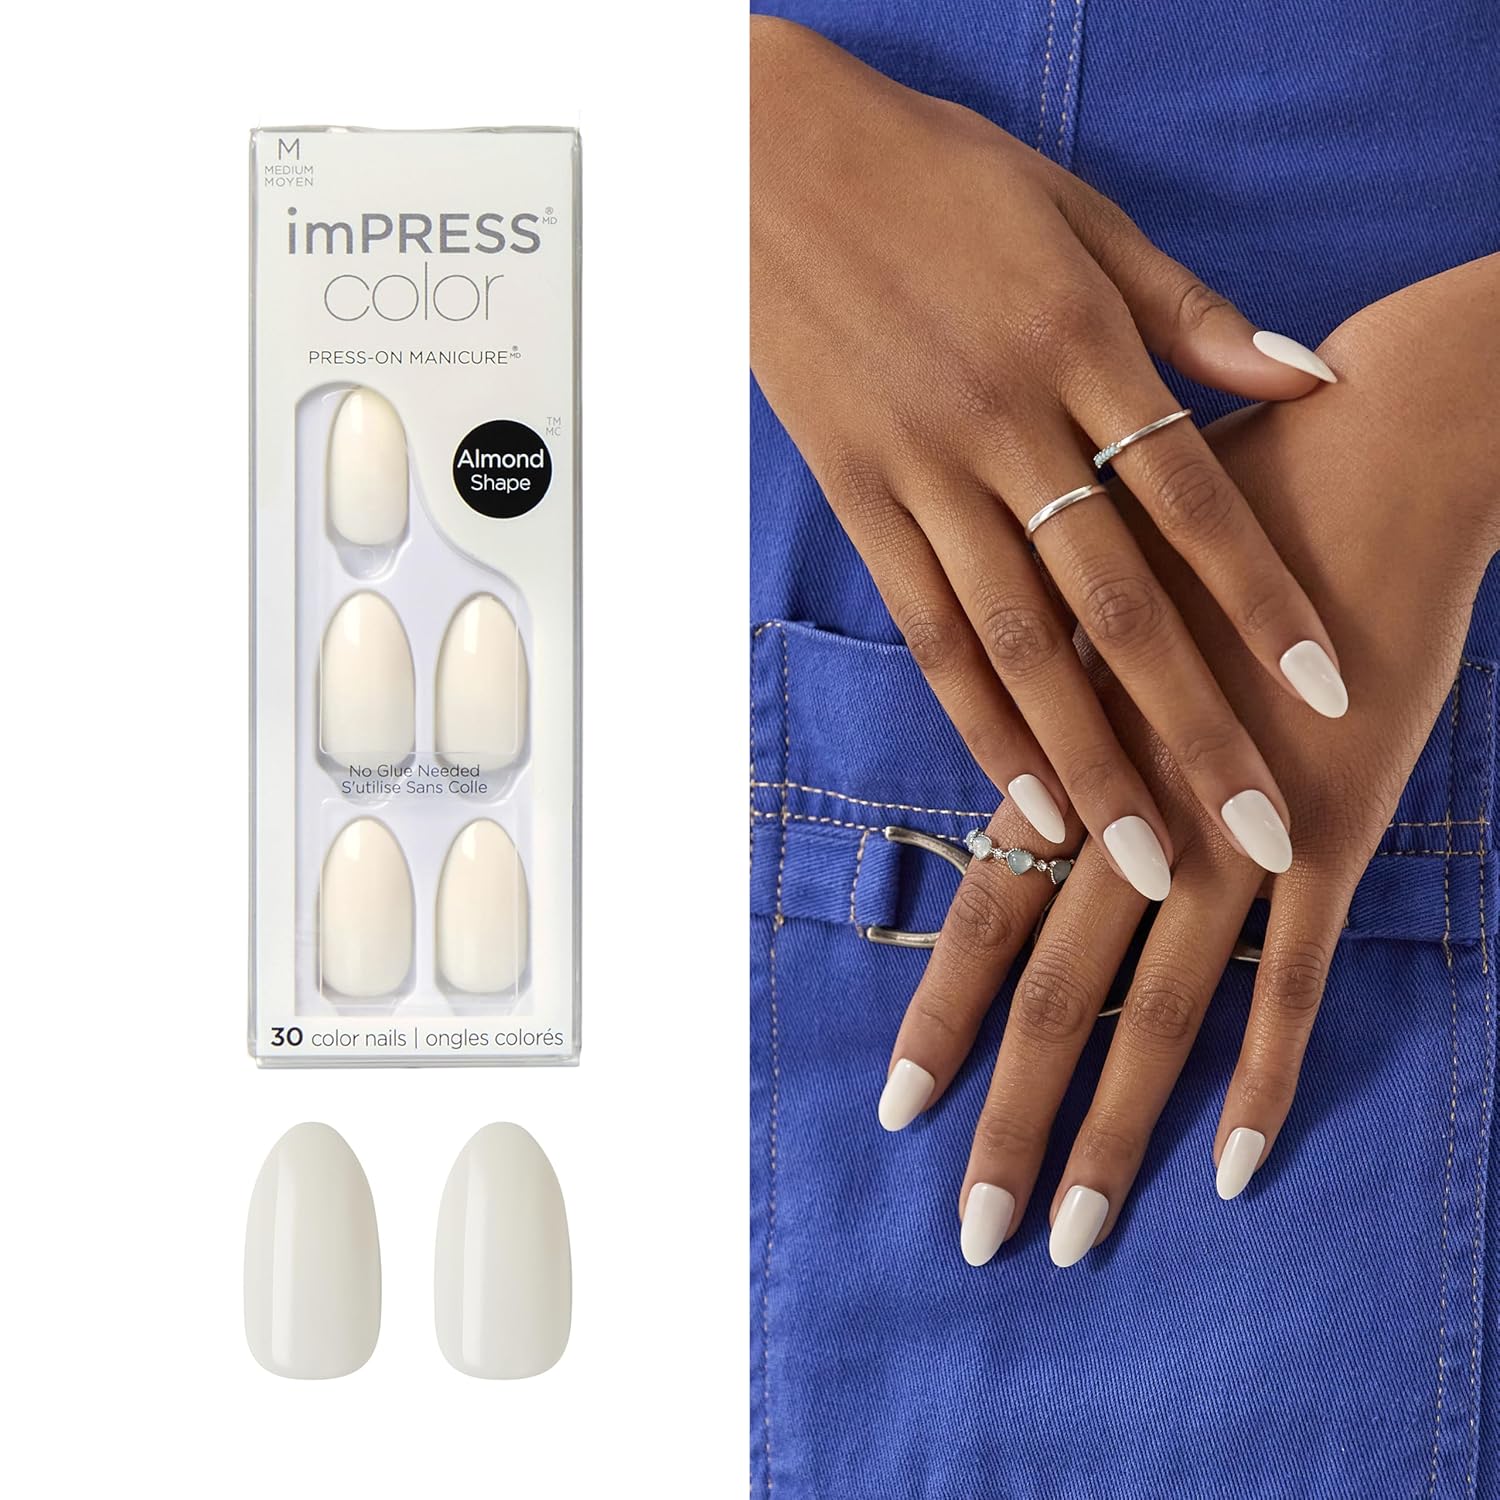
Press-on nails are artificial nails that come pre-designed and can be easily applied at home. They are available in various styles, colors, and lengths, making them a versatile option for any occasion. Unlike traditional acrylics or gels, press-on nails don’t require extensive tools or expertise to apply. This makes them a fantastic choice for anyone looking to enhance their manicure without the commitment.
Choosing the Right Press-On Nails
Finding the Perfect Fit
Before applying press-on nails, it’s essential to choose the right size. Most press-on nail sets come with a variety of sizes to fit different nail beds. Here’s how to find your ideal fit:
- Measure Your Nails: Use a ruler to measure the width of your natural nails at the widest point.
- Compare Sizes: Check the size chart that comes with your press-on nail set. This will help you select the perfect match.
- Mix and Match: Don’t hesitate to mix different sizes if needed. It’s all about achieving a natural look.
Preparing Your Natural Nails
Prepping for Application
Proper preparation is key to ensuring your press-on nails adhere well and last longer. Follow these steps to prepare your nails:
- Clean Your Nails: Start by washing your hands to remove dirt and oil. Use a nail brush for extra cleanliness.
- Push Back Cuticles: Gently push back your cuticles using a cuticle pusher. This prevents lifting and ensures a smooth surface.
- Buff the Surface: Lightly buff the surface of your natural nails to create a better grip for the press-on nails.
- Wipe with Alcohol: Use an alcohol wipe to remove any oils from your nails. This helps with adhesion.
Applying Press-On Nails
Step-by-Step Application Process
Now that your nails are prepped, it’s time to apply your press-on nails! Here’s how to do it:
- Select the Right Nail: Choose the press-on nail that fits your natural nail.
- Apply Adhesive: If your press-on nails come with adhesive tabs, peel off the backing and stick them to the back of the nail. If using nail glue, apply a small amount to your natural nail.
- Press and Hold: Align the press-on nail with your natural nail and press down firmly for about 10-20 seconds. Make sure there are no air bubbles.
- Repeat: Continue this process for all your nails.
Tips for Longevity
Keeping Your Press-On Nails Intact
To ensure your press-on nails last as long as possible, consider these tips:
- Avoid Water: Try to keep your nails dry for the first few hours after application. Water can weaken the adhesive.
- Use Gloves: When doing chores or washing dishes, wear gloves to protect your nails from damage.
- Limit Exposure to Heat: Avoid exposing your nails to high temperatures, as this can weaken the adhesive.
Removing Press-On Nails
Safe Removal Techniques
When it’s time to remove your press-on nails, do it carefully to avoid damaging your natural nails. Here’s how:
- Soak in Warm Water: Fill a bowl with warm, soapy water and soak your nails for about 10-15 minutes.
- Gently Pry Off: Using a wooden stick or your fingers, gently pry the press-on nails starting at the sides.
- Clean Up: If there’s any leftover adhesive, use a nail polish remover to clean it up.
Customizing Your Press-On Nails
Adding a Personal Touch
One of the best things about press-on nails is the ability to customize them. Here are a few ideas to make your nails uniquely yours:
- Nail Art: Use nail stickers or decals to add a fun design.
- Paint Them: Feel free to paint over your press-on nails with your favorite nail polish.
- Add Gems: For a glamorous look, add some rhinestones or gems to your nails.
Conclusion
In summary, applying press-on nails is a simple and effective way to achieve beautiful nails at home. By choosing the right nails, preparing your natural nails, and following our step-by-step application guide, you can enjoy salon-quality results without the hassle. Remember to take care of your nails and customize them to reflect your style. Now that you know the best way to apply press-on nails, it’s time to give them a try and enjoy the convenience they offer! Happy nail styling!
Press On & Go: Get a stunning, professional quality manicure in minutes with our press-on nails made with PureFit Technology, so they feel super comfortable and look beautiful for days without causing damage to your natural nails
Flawless & Seamless: Ultra easy to apply, our timeless nail care products are professional-quality and long lasting, so your nails stay secure with ease and elegance
Long Lasting & Hassle Free: Chip proof and smudge proof with no dry time, these press-and-go nails are comfortable and convenient, bringing extra beauty for special occasions and everyday wear
DIY Mani Kit: You will have everything you need to have a perfect and precise salon quality manicure from home with our kit that includes 30 Nails, Prep Pad, Mini File, and Manicure Stick
KISS Quality & Confidence: As the world’s leading supplier of professional hair care tools, personal care and artificial nails and eyelashes, KISS makes high quality beauty products more accessible for all