


Price: $6.88
(as of Apr 10, 2025 21:31:45 UTC - Details)
The Best Way to Apply Press On Nails: A Comprehensive Guide
Introduction
Are you tired of spending hours at the nail salon, only to leave with a result that doesn’t quite meet your expectations? Look no further! Press on nails are the perfect solution for anyone wanting beautiful nails without the hassle. In this article, we will explore the best way to apply press on nails, ensuring you get salon-quality results right at home. We’ll dive into tips and tricks, how to choose the right nails, and the best application techniques. Whether you’re new to press on nails or looking to improve your skills, this guide is for you!
Understanding Press On Nails
What Are Press On Nails?
Press on nails are pre-designed nail tips that can be easily applied and removed. They come in a variety of styles, colors, and lengths, making them a versatile option for anyone wanting to enhance their nails. Unlike traditional nail applications, they offer a quick and affordable alternative that doesn’t compromise on style.
Why Choose Press On Nails?
If you're wondering why you should consider press on nails, they offer several benefits. First, they save you time and money compared to salon visits. Second, they allow for flexibility in style; you can switch up your look as often as you like! Lastly, they are easy to apply and remove, making them perfect for special occasions or everyday wear.
Choosing the Right Press On Nails
Selecting the Perfect Size
Before applying press on nails, it’s crucial to choose the right size for your natural nails. Most brands provide a sizing guide to help you find the perfect fit. Measure each nail and select sizes accordingly to avoid any discomfort or lifting after application.
Picking Your Style
Press on nails come in countless designs, from simple and elegant to bold and extravagant. Consider your personal style and the occasion when selecting your nails. If you’re unsure, neutral colors are versatile and can match various outfits.
Preparing Your Nails for Application
Nail Care Basics
To achieve a flawless application, start with clean and healthy nails. Remove any old nail polish and wash your hands thoroughly. If necessary, trim and file your natural nails to ensure they are even and smooth.
Buffing for Perfection
Buffing your nails is an essential step. Gently buff the surface of your nails to remove shine and create a better surface for the press on nails to adhere to. This step ensures a longer-lasting application.
The Best Way to Apply Press On Nails
Step-by-Step Application Process
- Prep Your Nails: As mentioned earlier, clean and buff your nails.
- Select Your Nails: Choose the press on nails that fit your natural nails best.
- Apply Adhesive: Depending on the type of press on nails, you may need to apply adhesive. Follow the manufacturer's instructions carefully.
- Press and Hold: Align the press on nail with your natural nail and press down firmly for about 10 seconds. This helps secure the nail in place.
- Repeat: Continue the process for all your nails, ensuring each one is applied evenly and securely.
Tips for a Flawless Finish
- Use a Nail File: If the edges of the press on nails are too long, gently file them down for a more natural look.
- Top Coat for Extra Shine: Applying a clear top coat can enhance the shine and durability of your press on nails.
- Avoid Water: For the first hour after application, try to avoid water to allow the adhesive to bond properly.
Maintaining Your Press On Nails
Keeping Them Looking Fresh
To ensure your press on nails last as long as possible, avoid exposing them to harsh chemicals. Wear gloves when cleaning or doing dishes. Additionally, keep your hands moisturized, but avoid applying lotion directly to your nails.
How to Remove Press On Nails Safely
When it’s time to remove your press on nails, do it gently to avoid damaging your natural nails. Soak your nails in warm, soapy water for about 10-15 minutes to loosen the adhesive. Then, gently pry them off with a cuticle pusher or your fingers.
Troubleshooting Common Issues
What If They Don’t Stick?
If your press on nails aren't sticking, ensure that your nails are clean and free of oils. You can also try using a stronger adhesive or double-sided nail tape for added security.
Preventing Lifting
To prevent lifting, make sure you apply the press on nails correctly and allow adequate time for the adhesive to bond. If you notice lifting, you can use a small amount of nail glue to secure the edges.
Conclusion
In summary, applying press on nails can be a rewarding and fun experience. By following the steps outlined in this guide, you can achieve beautiful nails at home without the need for a salon visit. Remember to choose the right size and style, prep your nails properly, and follow the application process carefully. With practice, you’ll become a pro at applying press on nails and enjoy all the benefits they offer. So go ahead and give it a try—the best way to apply press on nails is just a few steps away!
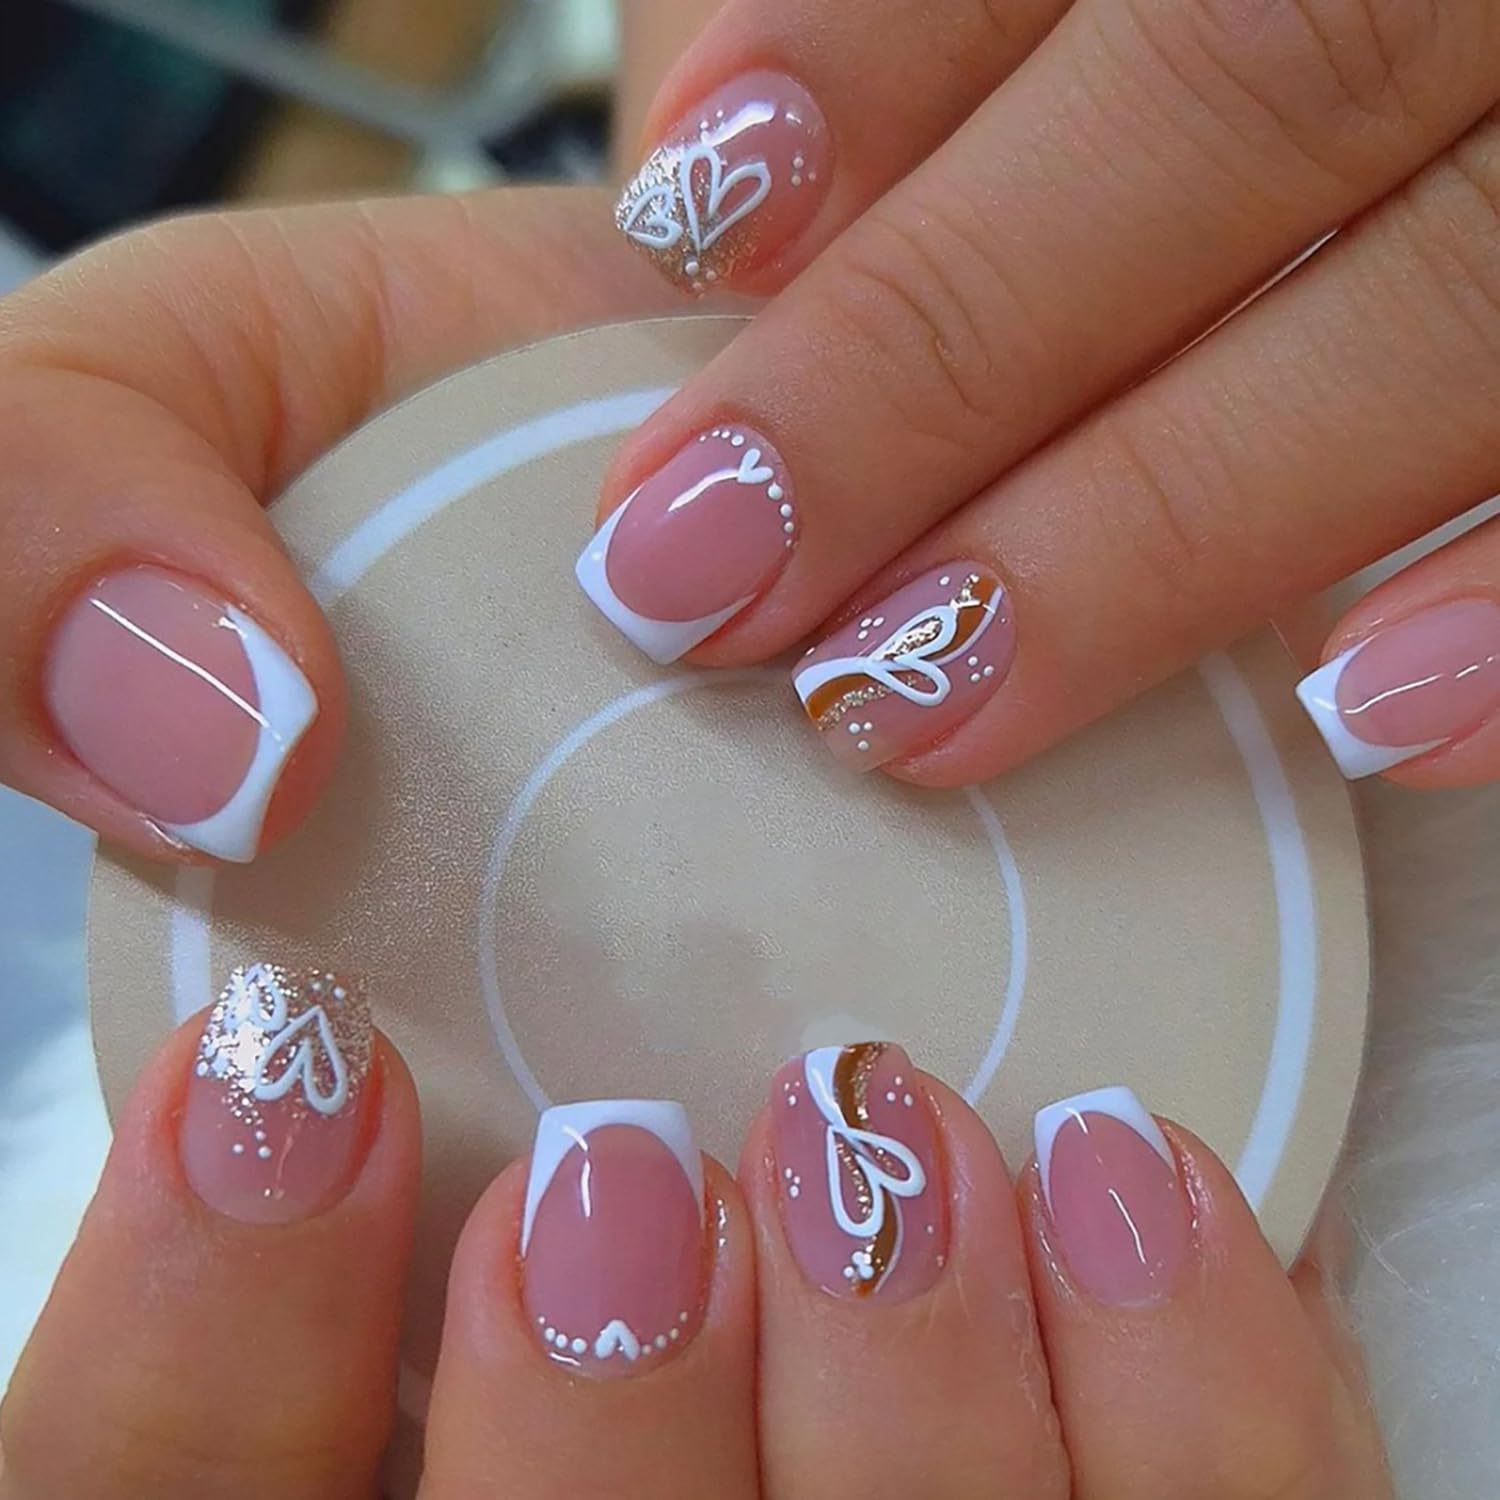
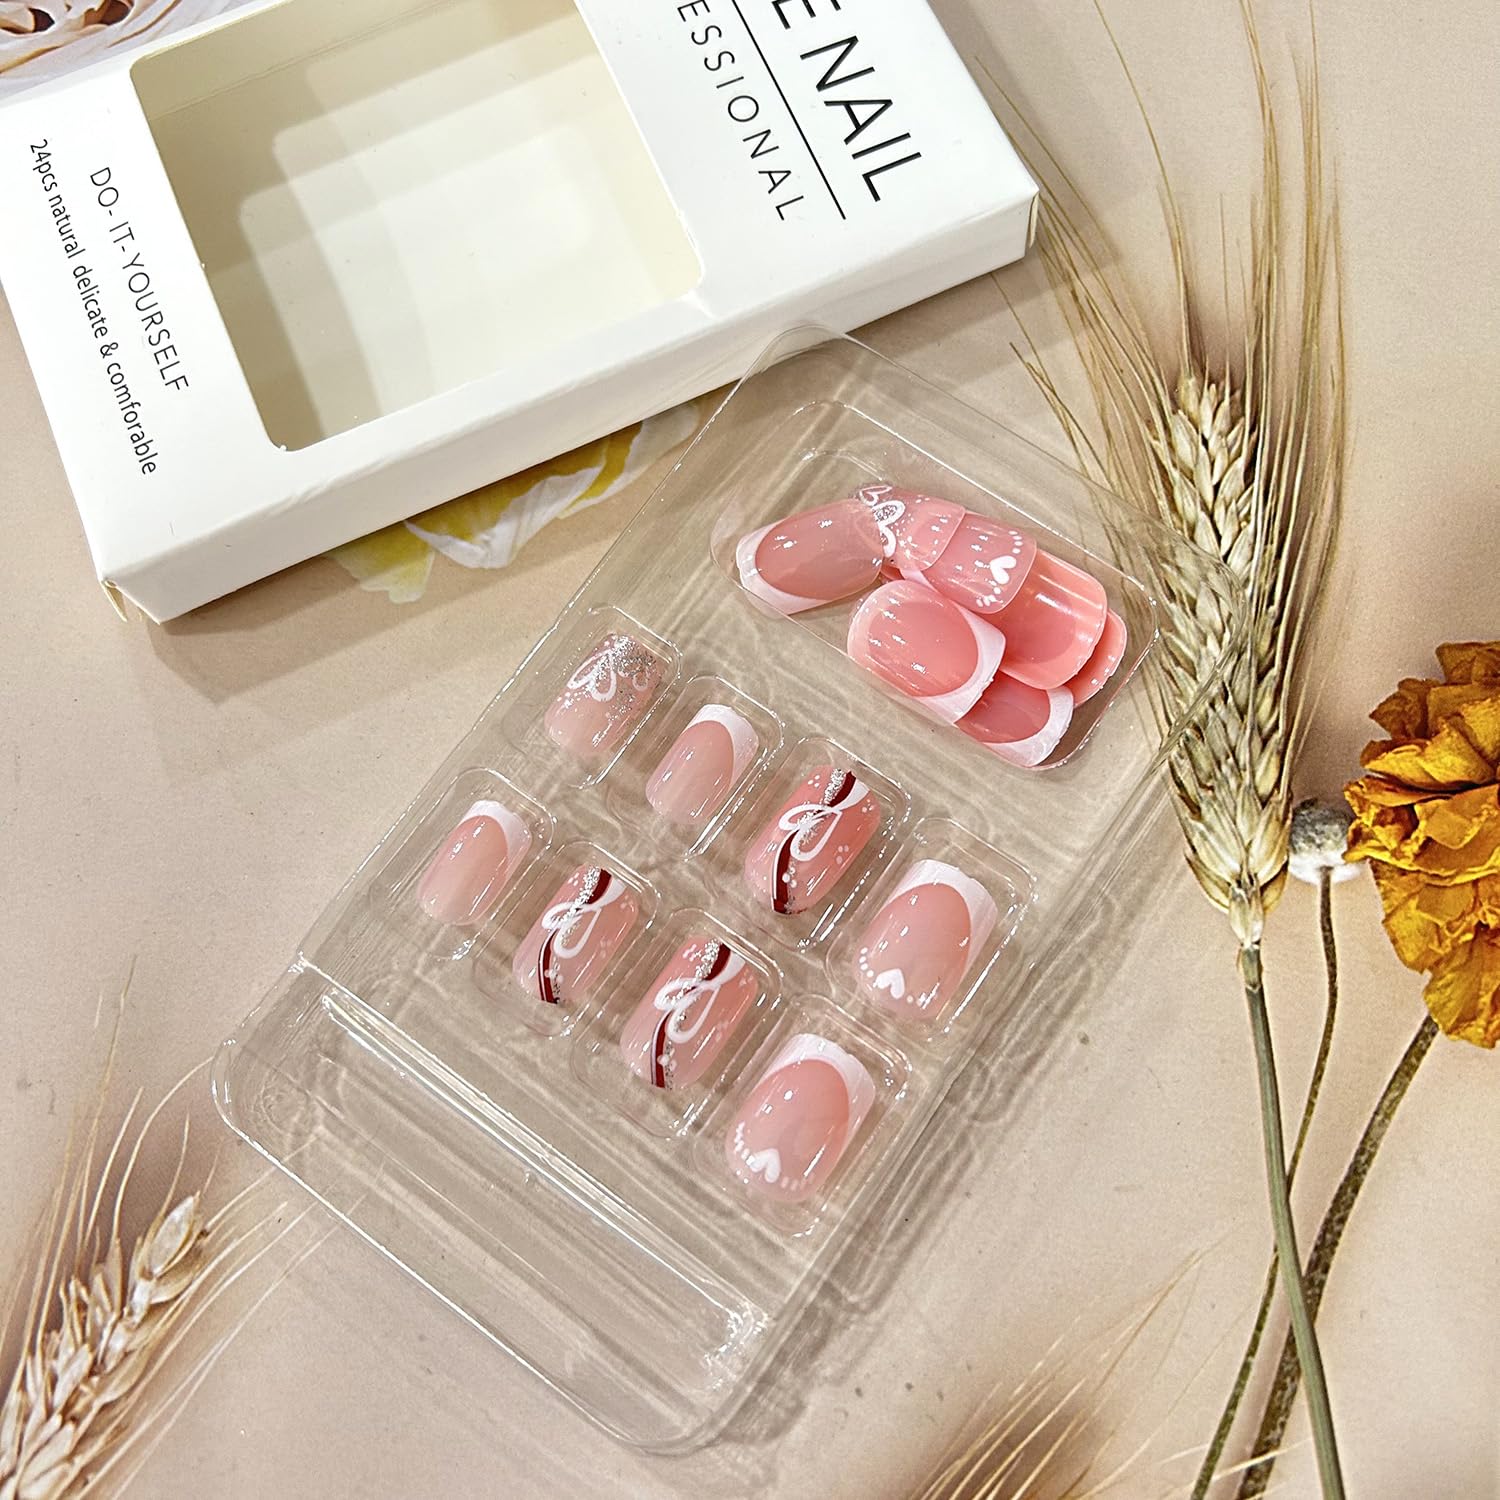
Valentine's Day Press on Nails:You'll get 24 pieces love heart false nails. 1 mini nail file, 1 small wooden stick, 1 piece of nail glue sticker. Nail glue sticker are perfect for most people's nails
Quality: Valentine's Day Acrylic nails press ons are made of good acrylic ABS material, more glossy, firm and not fragile, softness is similar to human nails, comfortable and natural. You can use it with confidence
Easy To Use:Using press on nails with jelly glue, the perfect replacement for nail polish, no need to wait for drying and only take a few minutes to get professional nail art results
Wide application: Press-on nails are suitable for various social occasions, holiday dates and birthday parties, daily life, etc. False nails can help you save a lot of time and money in nail salons. You can completely DIY manicure at home to get the same manicure as in nail salons
Perfect Gift: Love heart false nails are a great gift for your wife, family, friends, and also a way to express love on Valentine's Day